Honeywell Home TH6220WF2006 Installation Manual: A Comprehensive Plan
This manual details the TH6220WF2006 thermostat’s installation, covering system compatibility, wiring, setup, and troubleshooting for optimal performance.
The Honeywell Home TH6220WF2006, a T6 Pro Smart Thermostat, offers advanced control over your home’s heating and cooling systems. This Wi-Fi enabled device allows for remote access and scheduling via the Honeywell Home app, enhancing comfort and energy efficiency. It’s designed for compatibility with various systems, including heat pumps and conventional setups – supporting up to 3 heat and 2 cool stages.
This thermostat boasts a user-friendly interface and programmable features. Installation requires basic electrical knowledge and adherence to safety precautions. The included manual provides a step-by-step guide, ensuring a smooth setup process. Proper installation unlocks the full potential of this smart thermostat, optimizing your home climate and reducing energy consumption.
Unboxing and Component Verification
Upon opening the Honeywell Home TH6220WF2006 package, carefully verify all components are present. You should find the T6 Pro Smart Thermostat unit itself, a mounting base, a standard installation adapter (THP2400A1076), and a UWP mounting system. Small decorative cover plates are also included.
Confirm the presence of screws and wire labels for proper installation. Refer to the included documentation to identify each part. Inspect all items for any signs of damage during shipping. If any components are missing or damaged, contact Honeywell Home Support immediately before proceeding with the installation. Accurate verification ensures a hassle-free setup.
Safety Precautions & Warnings
Before beginning installation, disconnect power to your HVAC system at the circuit breaker or fuse box to avoid electrical shock. Improper wiring can damage the thermostat or your HVAC equipment. This installation should be performed by a qualified technician if you are unfamiliar with electrical wiring.
Always follow local electrical codes and regulations. Do not install the thermostat in a location exposed to direct sunlight, extreme temperatures, or moisture. Keep the thermostat away from flammable materials. Failure to heed these warnings could result in property damage, injury, or void the warranty.
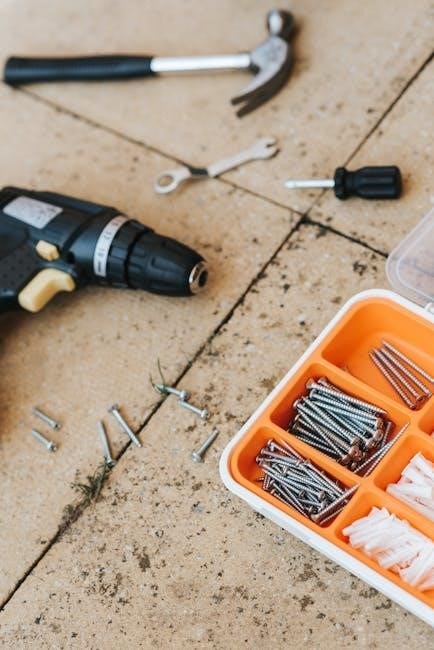
Tools Required for Installation
For a successful TH6220WF2006 installation, gather these essential tools: a Phillips head screwdriver, a flathead screwdriver, wire strippers, a pencil, a level, and potentially a drill with appropriate drill bits depending on your mounting surface. A voltage tester is crucial for verifying power is off before wiring.
You may also need pliers for bending wires, and a small flashlight to illuminate the wiring connections. Having a digital multimeter can be helpful for troubleshooting. Ensure all tools are in good working condition and used safely. The included installation adapter may require specific tools for secure mounting.
System Compatibility Check
Before installation, verify your system’s compatibility with the TH6220WF2006. This thermostat supports up to 3 Heat/2 Cool heat pump systems and up to 2 Heat/2 Cool conventional systems. It’s crucial to confirm your existing heating and cooling setup aligns with these parameters.
Incompatible systems may require adapters or prevent proper functionality. Carefully review your current system’s wiring and components. If unsure, consult a qualified HVAC professional to ensure a seamless and safe installation process. Incorrect compatibility can lead to system damage or thermostat malfunction.
Compatible Heating Systems
The Honeywell TH6220WF2006 thermostat is compatible with a wide range of heating systems. These include gas, oil, and electric furnaces, as well as heat pumps. Specifically, it supports single-stage, multi-stage, and modulating heating systems.
It also works with hot water baseboard heating, provided the appropriate adapter is used. Ensure your heating system utilizes standard 24V control wiring for seamless integration. Systems with line voltage heating (120V or 240V) are generally not compatible without professional modification. Always verify voltage requirements before proceeding.
Compatible Cooling Systems
The TH6220WF2006 thermostat readily integrates with various cooling systems commonly found in residential settings. This includes central air conditioning, heat pump cooling, and dual-fuel systems where cooling is provided by a separate air conditioner. It supports single-stage and multi-stage cooling configurations, offering precise temperature control.
Compatibility extends to systems utilizing standard 24V control wiring. Like heating systems, line voltage cooling systems (120V/240V) typically require professional adaptation. Confirm your cooling system’s voltage before installation to avoid potential damage or malfunction. Proper wiring is crucial for optimal performance.
Thermostat Dimensions and Mounting Options
Understanding the physical dimensions of the T6 Pro and available mounting options is crucial for a seamless installation. The T6 Pro Smart Thermostat (TH6220WF2006) measures 4-5/64 x 4-5/64 x 1-1/16 inches (104 x 104 x 27 mm). The included UWP Mounting System is 2-9/32 x 2-13/64 x 2-43/64 inches (58 x 56 x 10 mm).
For broader compatibility, a Standard Installation Adapter (THP2400A1076) is available, measuring 3-29/32 x 3-57/64 x 21/32 inches (99 x 99 x 17 mm). These options accommodate various wall configurations and existing thermostat footprints, ensuring a secure and aesthetically pleasing fit.
T6 Pro Smart Thermostat Dimensions
Precise dimensions are essential for planning the installation and ensuring compatibility with your wall space. The Honeywell Home T6 Pro Smart Thermostat (TH6220WF2006) boasts compact dimensions of 4-5/64 inches in width and height, and 1-1/16 inches in depth.
Converting to millimeters, this translates to 104mm x 104mm x 27mm. These measurements are critical when assessing whether the thermostat will fit comfortably in the existing location or if modifications are needed. Accurate measurement prevents installation issues and guarantees a clean, professional appearance. Consider these dimensions alongside mounting adapter options.
UWP Mounting System Dimensions
The Universal Wall Plate (UWP) mounting system provides flexibility during installation, accommodating various wall configurations. Its dimensions are 2-9/32 inches in width, 2-13/64 inches in height, and 2-43/64 inches in depth.
In metric measurements, this equates to 58mm x 56mm x 10mm. The UWP’s design allows for easy alignment and secure attachment of the thermostat base. These dimensions are crucial for ensuring the thermostat sits flush against the wall and doesn’t obstruct any existing features. Proper UWP installation is key to a stable and aesthetically pleasing setup.
Standard Installation Adapter Dimensions
For installations requiring adaptation to existing wall openings, the standard installation adapter (THP2400A1076) is utilized. This adapter measures 3-29/32 inches in width, 3-57/64 inches in height, and 21/32 inches in depth.
Converting to metric, the dimensions are approximately 99mm x 99mm x 17mm. The adapter facilitates a seamless fit, covering larger wall spaces left by previous thermostats. It ensures the Honeywell TH6220WF2006 securely mounts, maintaining a clean appearance. Correct adapter usage is vital for installations where the UWP doesn’t directly align with existing holes.
Wiring Diagram Overview
Proper wiring is crucial for the TH6220WF2006’s functionality. The thermostat supports up to 3 heat and 2 cool stages for heat pump systems, and 2 heat/2 cool for conventional systems.
Common terminals include Rh, Rc, C (common wire – essential for Wi-Fi), W (heat), Y (cool), and G (fan). Heat pump systems utilize additional terminals like O/B (reversing valve). Always disconnect power before wiring! Refer to the detailed wiring diagrams in the full installation guide for specific configurations. Incorrect wiring can damage the thermostat or HVAC system.
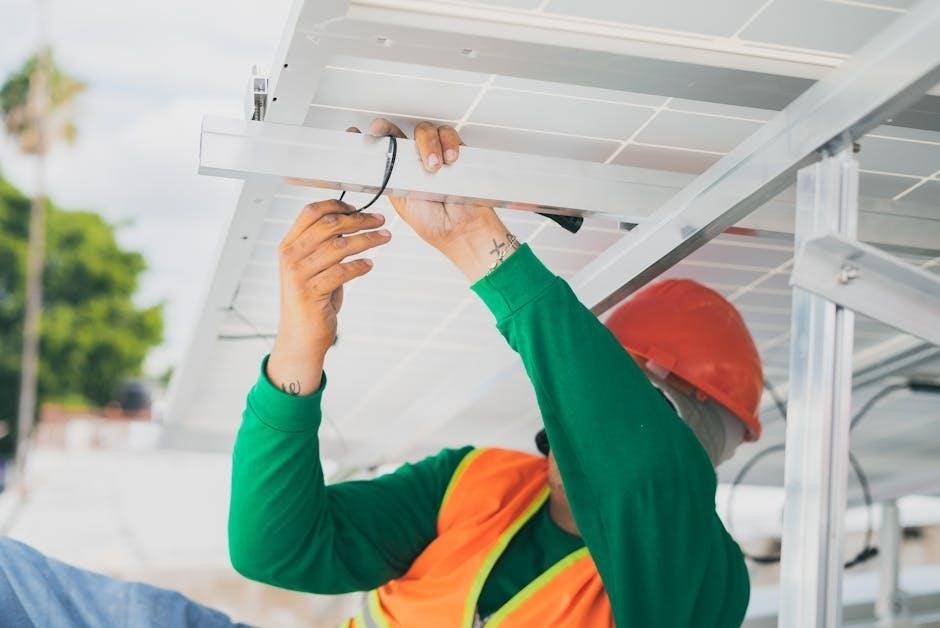
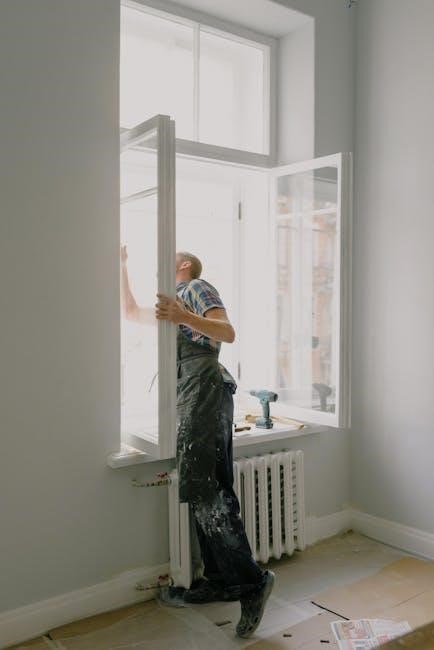
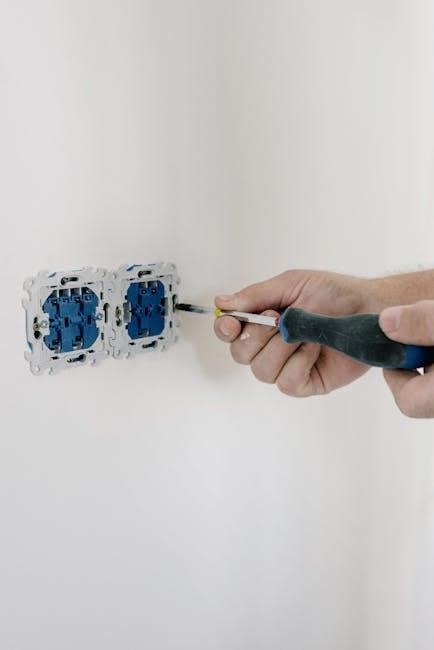
Step-by-Step Installation Guide
Begin by turning off power to your HVAC system at the breaker. Carefully remove your old thermostat, labeling each wire as you disconnect it. Use the provided wiring diagram to connect the wires to the TH6220WF2006 base plate.
Securely mount the base plate to the wall using the included screws and mounting system. Once wired and mounted, carefully attach the thermostat display to the base. Restore power and proceed with the initial setup, ensuring all connections are firm and correct for optimal operation.
Removing the Old Thermostat
Before starting, switch off power to your HVAC system at the circuit breaker to prevent electrical shock. Carefully remove the cover of your existing thermostat to expose the wiring terminals.
Crucially, label each wire with the corresponding terminal designation before disconnecting them – this is vital for correct re-installation. Take a photograph for reference. Gently pull each wire free from the terminals. Once all wires are disconnected, remove the old thermostat baseplate from the wall.
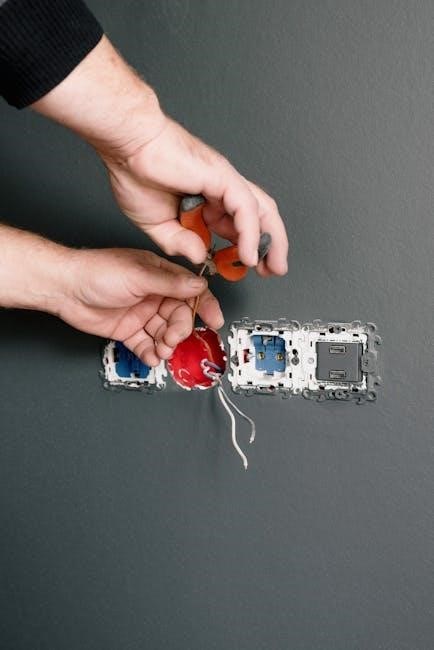
Connecting the Wires
Referring to your wiring labels and the Honeywell TH6220WF2006 wiring diagram, carefully connect each wire to the corresponding terminal on the thermostat base. Ensure each wire is securely fastened – a loose connection can cause malfunctions.
Double-check all connections against your photograph and labels to avoid errors. Common terminals include R, C, W, Y, and G. If you have a heat pump system, additional terminals may be present. If unsure, consult a qualified HVAC technician before proceeding.
Mounting the Thermostat Base
With the wires securely connected, carefully position the thermostat base on the wall, utilizing either the UWP mounting system or the standard installation adapter (THP2400A1076) if needed.
Ensure the base is level before securing it with the provided screws. The UWP system offers flexibility, while the adapter suits existing wall openings. Verify the base is firmly attached to prevent movement. Gently tuck any excess wire length back into the wall opening, avoiding pinching or damage. Finally, snap the decorative cover plate onto the base.
Powering On and Initial Setup
After mounting, restore power to the HVAC system via the circuit breaker or fuse. The thermostat should power on automatically, displaying the Honeywell Home welcome screen. If the screen remains blank, double-check the breaker and wiring connections.

Follow the on-screen prompts to begin the initial setup process. This includes selecting your language, date, and time. The thermostat will then guide you through a system check, identifying the type of heating and cooling equipment connected. Accurate system identification is crucial for proper operation.
Connecting to Wi-Fi
To enable remote control and advanced features, connect your TH6220WF2006 to your home’s Wi-Fi network. From the thermostat’s menu, navigate to the network settings. Select your Wi-Fi network from the list of available networks and enter your password when prompted.
Ensure a strong Wi-Fi signal for reliable connectivity. The thermostat supports 2.4 GHz networks; 5 GHz networks are not currently supported. Successful connection is indicated by a Wi-Fi icon appearing on the thermostat’s display. You can then proceed to configure the Honeywell Home app.
Honeywell Home App Configuration
Download the Honeywell Home app from the App Store (iOS) or Google Play Store (Android). Create an account or log in if you already have one. Follow the in-app instructions to add your TH6220WF2006 thermostat. The app will guide you through the process, typically involving scanning a QR code or manually entering the thermostat’s ID.
Once added, you can remotely control your thermostat, create schedules, and access energy usage reports. Customize settings to match your preferences and enjoy the convenience of smart home integration.
Programming the Thermostat Schedule
Utilize the Honeywell Home app or the thermostat’s on-screen interface to program a heating and cooling schedule. Create custom schedules based on your daily routines, setting different temperatures for wake, leave, return, and sleep periods. Consider energy-saving options like geofencing, which adjusts the temperature based on your location.
The app allows for flexible scheduling, including creating different schedules for weekdays and weekends. Experiment with settings to find the optimal balance between comfort and energy efficiency. Regularly review and adjust your schedule as needed.
Troubleshooting Common Issues
If the thermostat screen is blank, first verify the circuit breaker or fuse supplying power is functioning correctly. Ensure proper wiring connections, referencing the wiring diagram. Check the thermostat’s batteries, even if hardwired, as they often maintain settings during power outages. For Wi-Fi connectivity issues, confirm your network is active and the password is correct.
If heating or cooling isn’t responding, double-check the system compatibility and wiring. Consult the Honeywell Home support website for detailed troubleshooting guides and FAQs.
Blank Thermostat Screen
A blank screen typically indicates a power issue. First, verify the circuit breaker controlling the HVAC system hasn’t tripped. Check the fuse protecting the thermostat’s power supply. Even with hardwired power, ensure the thermostat’s batteries (if applicable) are fresh, as they maintain settings during outages. Double-check all wiring connections at the thermostat base and the HVAC unit, ensuring they are secure and correctly matched to the wiring diagram.
If the problem persists, consult the Honeywell Home support resources for further assistance.

Technical Specifications
The Honeywell Home TH6220WF2006 (T6 Pro Wi-Fi) boasts dimensions of 4-5/64 x 4-5/64 x 1-1/16 inches (104 x 104 x 27 mm). The included UWP Mounting System measures 2-9/32 x 2-13/64 x 2-43/64 inches (58 x 56 x 10 mm). A Standard Installation Adapter (THP2400A1076) is 3-29/32 x 3-57/64 x 21/32 inches (99 x 99 x 17 mm).
This thermostat supports up to 3 Heat/2 Cool heat pump systems or 2 Heat/2 Cool conventional systems. It offers programmable scheduling and Wi-Fi connectivity for remote control via the Honeywell Home app.
Warranty Information
Honeywell Home provides a limited warranty for the TH6220WF2006 thermostat, safeguarding against manufacturing defects in materials and workmanship. The standard warranty period is one (1) year from the date of purchase, offering repair or replacement at Honeywell’s discretion.
This warranty excludes damage resulting from improper installation, misuse, abuse, or unauthorized modifications; Proof of purchase is required for all warranty claims. For detailed warranty terms and conditions, please visit the Honeywell Home support website or consult the complete warranty documentation included with your product.
Frequently Asked Questions (FAQ)
Q: What systems are compatible with the TH6220WF2006? A: It supports up to 3 heat/2 cool heat pump or 2 heat/2 cool conventional systems. Q: What if the thermostat screen is blank? A: Verify the circuit breaker or fuse connected to your heating system is functioning correctly.
Q: Can I control the thermostat remotely? A: Yes, via the Honeywell Home app after Wi-Fi connection. Q: Where can I find the user manual? A: Download it from the Honeywell Home support website. Q: What are the thermostat’s dimensions? A: 4-5/64 x 4-5/64 x 1-1/16 inches.
Resources and Support
For comprehensive assistance with your Honeywell Home TH6220WF2006 thermostat, several resources are readily available. You can download the user manual directly from manuals.plus for detailed instructions and troubleshooting.
Additionally, the Honeywell Home Support Website offers a wealth of information, including FAQs, video tutorials, and a searchable knowledge base. If you require direct assistance, their customer support team is available via phone or online chat. Ensure you have your model number (TH6220WF2006) ready when contacting support for faster service.
User Manual Download
Accessing the complete user manual for your Honeywell Home TH6220WF2006 thermostat is simple and provides in-depth guidance. A readily available digital copy can be found and downloaded from various online resources, including manuals.plus.
This manual covers everything from initial setup and Wi-Fi connectivity to programming schedules and troubleshooting common issues like a blank screen. Downloading the manual allows for offline access to detailed diagrams, wiring schematics, and step-by-step instructions, ensuring a smooth installation and optimal thermostat performance. It’s a valuable resource for both DIY installers and professionals.
Honeywell Home Support Website
For comprehensive support and assistance with your Honeywell Home TH6220WF2006 thermostat, the official Honeywell Home support website is an invaluable resource. This website provides a wealth of information, including frequently asked questions (FAQs), troubleshooting guides, and detailed product documentation.
You can find answers to common installation queries, learn about system compatibility, and access the latest software updates; The support website also offers contact options for direct assistance from Honeywell Home’s customer service team, ensuring you receive expert help when needed. Explore their online resources for a seamless experience.