
Ge Profile Window Air Conditioner Manual: A Comprehensive Guide
This manual provides a step-by-step guide for effortless operation of your Ge Air Conditioner, compatible with major brands, ensuring you fully utilize its features.
Welcome to the comprehensive user manual for your new Ge Profile Window Air Conditioner! This guide is meticulously designed to empower you with a complete understanding of your appliance, enabling you to harness its full potential. We aim to simplify operation and maximize your comfort throughout the warmer months.
This manual isn’t just a collection of instructions; it’s a resource built to help you navigate every aspect of your air conditioner, from initial setup and daily operation to essential maintenance and troubleshooting. We’ve broken down complex processes into manageable steps, ensuring a smooth and enjoyable experience.
By familiarizing yourself with the information contained within, you’ll be well-equipped to enjoy years of reliable and efficient cooling performance from your Ge Profile unit.
Understanding Model Numbers & Features
Your Ge Profile Window Air Conditioner’s model number is key to identifying specific features and accessing tailored support. This alphanumeric code, typically found on the unit’s exterior or a label, unlocks detailed specifications and compatibility information. Understanding this code allows for accurate parts ordering and efficient troubleshooting.
Ge Profile air conditioners boast a range of advanced features, including multiple cooling modes, adjustable fan speeds, programmable timers, and energy-saving settings. Many models incorporate smart technology, enabling remote control via smartphone apps and integration with smart home systems.

Explore the unique capabilities of your specific model to optimize performance and enjoy personalized comfort. Refer to the full model number when seeking assistance or replacement parts.

Safety Precautions & Warnings
Prioritize safety during installation and operation of your Ge Profile Window Air Conditioner. Always disconnect power before cleaning or performing maintenance. Never operate the unit with a damaged power cord or plug. Ensure the window is securely braced to support the air conditioner’s weight, preventing potential falls.
Keep the air intake and outlet clear of obstructions. Do not insert objects through the vents. This unit is not intended for use by individuals with reduced physical, sensory, or mental capabilities without supervision.
Warning: Improper installation or use can lead to electric shock, fire, or injury. Follow all instructions carefully and heed all warning labels.
Installation Guide
Proper installation is crucial for optimal performance and safety. This guide breaks down the process into manageable steps. Begin by verifying your window meets the specified requirements – ensuring adequate width, height, and structural integrity. Carefully unpack the unit and inspect for any shipping damage.
Assemble any included side panels or brackets according to the diagrams. Gently lift the air conditioner into the window opening, ensuring it’s level and securely supported. Extend the side panels to fill the gaps, and secure them with screws or foam insulation.
Important: A properly installed unit minimizes air leakage and prevents accidental falls.
Preparing for Installation: Window Requirements
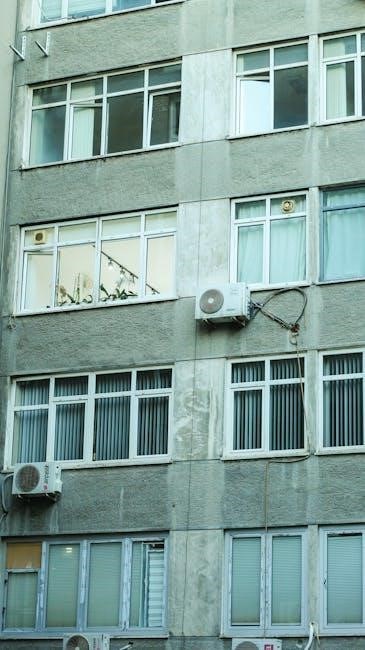
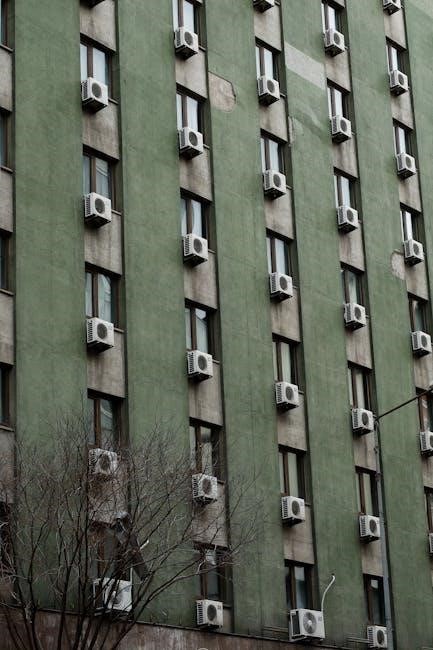
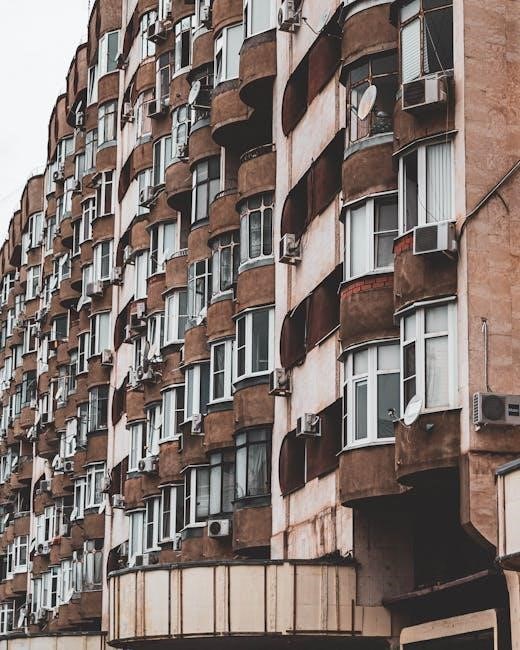
Before installation, carefully assess your window’s suitability. The window must be a standard double-hung or slider type, capable of supporting the air conditioner’s weight – typically between 50 and 80 pounds. Measure the window opening’s width and height; it should align with the unit’s dimensions specified in the manual.
Ensure the window sill is level and sturdy enough to bear the unit’s weight. Check for any rot or damage that could compromise support. A minimum sill depth of 5 inches is generally recommended for secure mounting. Avoid installing in windows with security bars or screens that obstruct proper fit.
Step-by-Step Installation Process
Begin by assembling the side panels, attaching them securely to the air conditioner chassis using the provided screws. Carefully lift the unit and place it on the window sill, ensuring it’s centered and level. Extend the side panels outwards to fit snugly within the window frame.
Next, install the mounting brackets, securing them to both the air conditioner and the window frame. Use the included foam insulation to fill any gaps between the unit and the window, minimizing air leakage. Finally, lower the upper window sash onto the top of the air conditioner, ensuring a tight seal. Double-check all connections for stability.

Securing the Unit & Preventing Falls
Prioritize safety by thoroughly securing your Ge Profile window air conditioner. Utilize the provided mounting brackets and screws, ensuring they are firmly attached to both the unit and the window frame. Regularly inspect these brackets for any signs of loosening or corrosion.
Consider adding additional support, especially for larger units or windows. Reinforce the window sill if necessary, and never rely solely on the window itself to bear the weight. Always ensure the unit is level to prevent shifting. Implement safety features like a support bracket to prevent accidental falls, protecting people and property below.
Operating Instructions
Before operating your Ge Profile air conditioner, familiarize yourself with its controls. Begin by ensuring the unit is properly installed and the power cord is securely connected. Upon initial startup, allow a few minutes for the system to calibrate and reach optimal performance.
Explore the various modes available, including cooling, fan-only, and potentially dehumidifying settings. Adjust the temperature and fan speed to your desired comfort level using the control panel or remote. Regularly monitor the unit’s operation and adjust settings as needed to maintain a comfortable indoor environment. Remember to consult the manual for specific mode details.
Powering On & Initial Setup
To begin, plug the Ge Profile air conditioner into a grounded outlet, ensuring it meets the voltage requirements specified in the manual. Press the power button – typically indicated by a power symbol – to initiate startup. Allow several minutes for the unit to complete its self-diagnostic checks and stabilize before adjusting settings.
During initial setup, you may be prompted to configure preferences such as temperature display (Celsius or Fahrenheit) and energy-saving modes. Familiarize yourself with the control panel’s layout and the functions of each button. Refer to the manual for detailed instructions on navigating the initial setup process and customizing your experience.
Cooling Mode Operation
To activate cooling mode, press the “Cool” button on the control panel or select the corresponding function on the remote control. Use the temperature adjustment buttons to set your desired room temperature; the unit will automatically adjust its cooling output to maintain this level. Experiment with different temperature settings to find a balance between comfort and energy efficiency.
The fan speed can be adjusted independently of the temperature, allowing you to customize airflow. Higher fan speeds provide faster cooling, while lower speeds are quieter and consume less energy. Consider utilizing the “Energy Saver” mode, which optimizes cooling performance for maximum efficiency, potentially increasing comfort and reducing costs;
Fan-Only Mode & Ventilation
To utilize the fan-only mode, simply press the “Fan” button on either the control panel or the remote control. This mode circulates air within the room without actively cooling it, providing gentle airflow and ventilation. It’s ideal for days when the temperature is comfortable, but you desire air movement. Adjust the fan speed to your preference – low, medium, or high – for customized comfort.
The fan-only mode can also help to distribute heat more evenly during the winter months when used in conjunction with your home’s heating system. Regularly using this mode can improve indoor air quality by promoting air circulation. Remember to clean the air filter frequently to maintain optimal ventilation performance.
Control Panel Explained
The Ge Profile window air conditioner’s control panel is designed for intuitive operation, offering easy access to all essential functions. It features a clear digital display showcasing the set temperature, fan speed, and selected mode. Buttons allow you to power the unit on/off, adjust cooling settings, and select between cooling, fan-only, and other specialized modes. Indicator lights clearly signal the current operating status, such as when the unit is cooling or when the filter requires cleaning.
The panel also integrates controls for timer settings and energy-saving features. A dedicated remote control duplicates these functions, providing convenient control from across the room. Familiarizing yourself with the control panel will unlock the full potential of your air conditioner.
Digital Display & Indicator Lights
The digital display on your Ge Profile air conditioner provides crucial information at a glance. It prominently shows the currently set temperature, allowing for precise adjustments to your comfort level. The display also indicates the selected fan speed – low, medium, or high – and the operating mode, whether it’s cooling, fan-only, or auto. Several indicator lights offer vital status updates. A “Cool” light illuminates during cooling operation, while a “Fan” light signals fan-only mode.
A “Filter” light alerts you when it’s time to clean or replace the air filter, ensuring optimal air quality and performance. Error codes, if any, will also appear on the display, assisting in troubleshooting. These visual cues simplify operation and help maintain your unit effectively.
Remote Control Functions
Your Ge Profile window air conditioner includes a convenient remote control, extending operational ease. It mirrors all functions available on the unit’s control panel, allowing adjustments from across the room. Use the power button to turn the unit on or off, and the “Mode” button to cycle through cooling, fan-only, and auto settings. Temperature adjustment buttons enable precise climate control, while fan speed buttons select low, medium, or high.
A dedicated “Sleep” mode gradually increases the temperature overnight for energy savings and comfort. The remote also features a timer function, allowing you to schedule operation. Ensure proper battery installation for optimal performance, and keep the remote dry to prevent damage.
Temperature & Fan Speed Settings
Precise temperature control is central to your Ge Profile air conditioner’s functionality. Utilize the “Temp” buttons on the control panel or remote to set your desired cooling temperature, ranging from typically 60°F to 80°F (16°C to 27°C). The unit will automatically adjust to maintain this temperature. Fan speed offers three settings: Low, Medium, and High. Low provides gentle airflow, ideal for quiet operation and minimal energy use.
Medium balances cooling and noise, while High delivers maximum cooling power. Experiment with these settings to find your preferred comfort level. Auto Fan mode adjusts fan speed based on cooling demand, optimizing efficiency and comfort.
Maintenance & Cleaning
Regular maintenance ensures optimal performance and extends the lifespan of your Ge Profile window air conditioner. Prioritize filter cleaning – check it monthly and clean or replace as needed. A dirty filter restricts airflow, reducing efficiency and potentially damaging the unit. Coil cleaning is also crucial; annually, carefully clean both the evaporator and condenser coils with a coil cleaner to remove dust and debris.
Before winter storage, thoroughly clean the unit and store it in a dry location. Covering it protects against dust and pests. Proper care guarantees years of reliable cooling.

Filter Cleaning & Replacement
Maintaining a clean air filter is paramount for efficient operation and air quality. Inspect the filter monthly, especially during heavy use. If the filter appears dirty, remove it carefully. Wash reusable filters with mild soap and water, ensuring they are completely dry before reinstalling.
Disposable filters should be replaced with a new filter of the correct size. A clogged filter restricts airflow, reducing cooling performance and potentially causing the unit to work harder. Regular filter maintenance contributes to energy savings and prolongs the life of your Ge Profile air conditioner.
Coil Cleaning Procedures

Periodically cleaning the condenser and evaporator coils enhances cooling efficiency. Before cleaning, disconnect the power to the air conditioner. Use a vacuum cleaner with a brush attachment to gently remove dust and debris from the coils. For stubborn dirt, a commercially available coil cleaner can be applied, following the manufacturer’s instructions carefully.
Avoid bending the delicate fins on the coils. Ensure the cleaner is fully rinsed off before restoring power. Clean coils improve airflow and heat transfer, resulting in optimal performance and reduced energy consumption; Regular coil cleaning contributes to the longevity of your Ge Profile window air conditioner.
Winter Storage Instructions
Proper winter storage preserves your Ge Profile air conditioner’s lifespan. Before storing, thoroughly clean the unit, including the filter and coils. Remove any water from the drain pan to prevent mold growth. Disconnect the power cord and secure it to the unit.

Store the air conditioner in a dry, indoor location, covered to protect it from dust and debris. Avoid storing it in extremely cold or humid environments. Consider using the original packaging if available. Regular maintenance, including proper storage, ensures optimal performance when you resume use in the spring.
Troubleshooting Common Issues
This section addresses frequent problems with your Ge Profile air conditioner. If the unit isn’t cooling, check the filter for blockage and ensure the thermostat is set correctly. Investigate error codes displayed on the digital panel; consult the manual for specific meanings.
Drainage issues often stem from a clogged drain line – carefully clear any obstructions. For persistent problems, verify the power supply and circuit breaker; If issues continue, avoid self-repair and contact a qualified technician. Regularly reviewing this section can save time and prevent costly repairs.
Unit Not Cooling Properly
If your Ge Profile air conditioner isn’t cooling effectively, begin by inspecting the air filter. A dirty filter restricts airflow, significantly reducing cooling performance. Ensure the thermostat is set to a temperature lower than the room temperature and is in “Cool” mode.
Check for obstructions blocking the vents, both inside and outside the unit. Verify the condenser coils are clean and free of debris. Confirm the unit is properly sealed in the window to prevent warm air from entering. If the problem persists, a refrigerant leak might be the cause – contact a qualified technician.
Error Codes & Their Meanings
Your Ge Profile window air conditioner utilizes error codes to diagnose internal issues. An “E1” code typically indicates a temperature sensor malfunction, requiring professional service. “E2” often signals a compressor error, potentially due to overheating or electrical problems. If you see “E3”, it suggests a fan motor failure, hindering airflow.
“E4” usually points to a communication error between the control panel and other components. For any error code displayed, first try resetting the unit by unplugging it for several minutes. If the code reappears, consult a qualified technician for repair, referencing the specific code for accurate diagnosis.
Drainage Problems & Solutions
Excessive moisture removal can sometimes lead to drainage issues in your Ge Profile air conditioner. If you notice water leaking, first check the drain hose for kinks or blockages. Ensure the unit is slightly tilted towards the outside to facilitate proper water expulsion. Regular cleaning of the drain pan is crucial to prevent algae and mildew buildup, which can obstruct flow.
For persistent leaks, inspect the drain cap for secure placement. In humid environments, increased drainage is normal, but excessive amounts warrant investigation. If problems continue, contact a qualified technician to assess potential internal issues with the drainage system.