
Welcome! This guide ensures optimal performance and longevity of your new appliance. Refer to the manufacturer’s manual for specific cleaning instructions and details.
Understanding Your Model
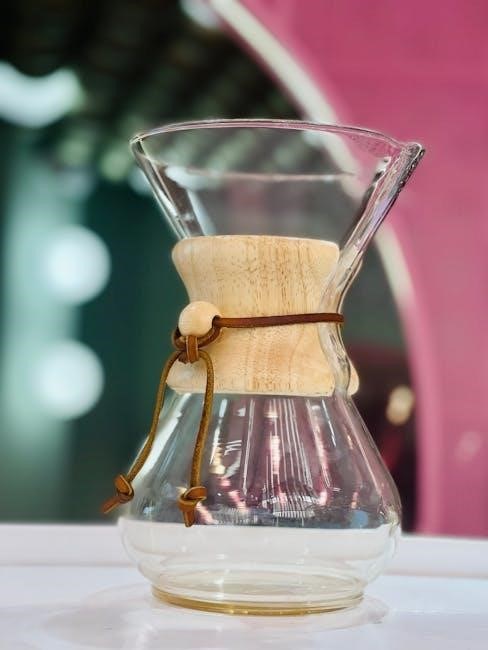
Familiarization is key! Before your first brew, thoroughly review the included manual. Different coffee makers boast unique features – from basic drip models to those with programmable timers and specialized brewing options. Your manual details each component, explaining the function of the water reservoir, filter basket, carafe, and control panel.
Pay close attention to diagrams illustrating proper assembly and disassembly. Understanding these aspects simplifies cleaning and maintenance. The manual also outlines specific safety precautions tailored to your model, ensuring safe operation. Ignoring these guidelines could lead to damage or injury. Locate the section detailing recommended coffee-to-water ratios for optimal flavor extraction.
Finally, note any warranty information and registration instructions. Keeping your manual handy will prove invaluable throughout your coffee-making journey!
Safety Precautions
Prioritize safety! Your coffee maker operates with electricity and hot water, demanding careful attention. Always read and understand the safety precautions detailed in your appliance’s manual before use. Never immerse the base of the coffee maker in water or any other liquid – this poses a serious electrical hazard.
Ensure the appliance is placed on a stable, heat-resistant surface, away from flammable materials. Avoid operating the coffee maker with a damaged cord or plug. Do not leave the appliance unattended while in operation. Keep it out of reach of children.
Allow the coffee maker to cool completely before cleaning. Be cautious when handling the hot carafe and avoid touching hot surfaces. The manual will specify if the carafe is heat-resistant or requires a handle/protective gear. Following these guidelines ensures a safe and enjoyable coffee experience.
Setting Up Your Coffee Maker
Preparation is key! Consult your coffee maker’s manual for detailed setup instructions, ensuring proper component placement and initial functionality checks.
Initial Cleaning Cycle
Before your first delicious brew, a thorough cleaning cycle is essential. This removes any manufacturing residues that could impact the flavor of your coffee and ensures optimal performance. Refer to your coffee maker’s manual for specific instructions, as procedures vary between models. Generally, this involves filling the water reservoir to its maximum capacity with fresh, clean water.
Run a full brewing cycle without adding any coffee grounds. Discard the water from the carafe after the cycle completes. It’s often recommended to repeat this process one or two more times, especially for new machines. This initial flush helps to prime the internal components and eliminate any lingering odors or particles. Following the manual’s guidance guarantees a clean start and a better tasting cup of coffee!
Water Reservoir & Filter Basket
Understanding these components is key to consistent brewing. The water reservoir should always be filled with fresh, filtered water for the best taste. Check your manual for maximum fill lines – overfilling can cause leaks. Regularly inspect the reservoir for any mineral buildup, which can affect performance.
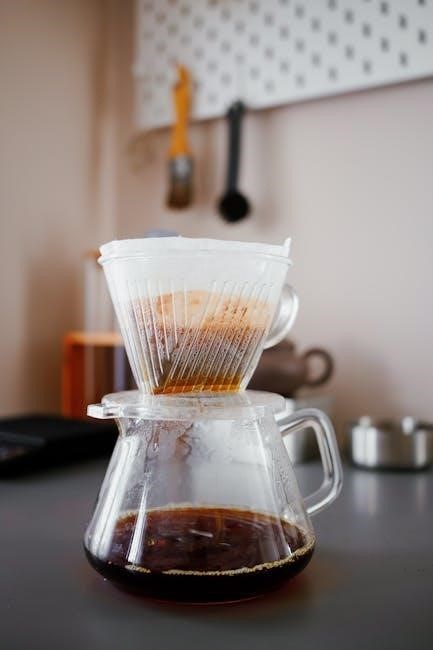
The filter basket holds the coffee filter and grounds. Most machines use standard paper filters, but some may require specific sizes or reusable filters. Ensure the basket is properly seated before brewing to prevent grounds from overflowing. Your manual will detail the correct filter type and placement. Cleaning both the reservoir and basket after each use prevents residue buildup and maintains optimal coffee flavor. A clean system equals a better brew!

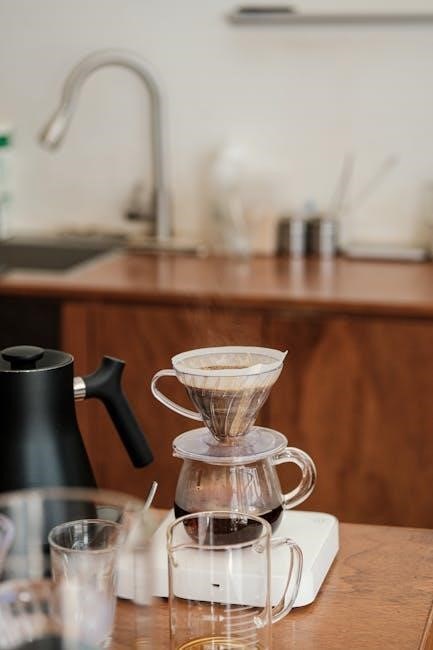
Brewing Your First Pot
Let’s get started! Following the manual’s instructions closely will guarantee a delicious first pot, setting the stage for enjoyable coffee experiences ahead.
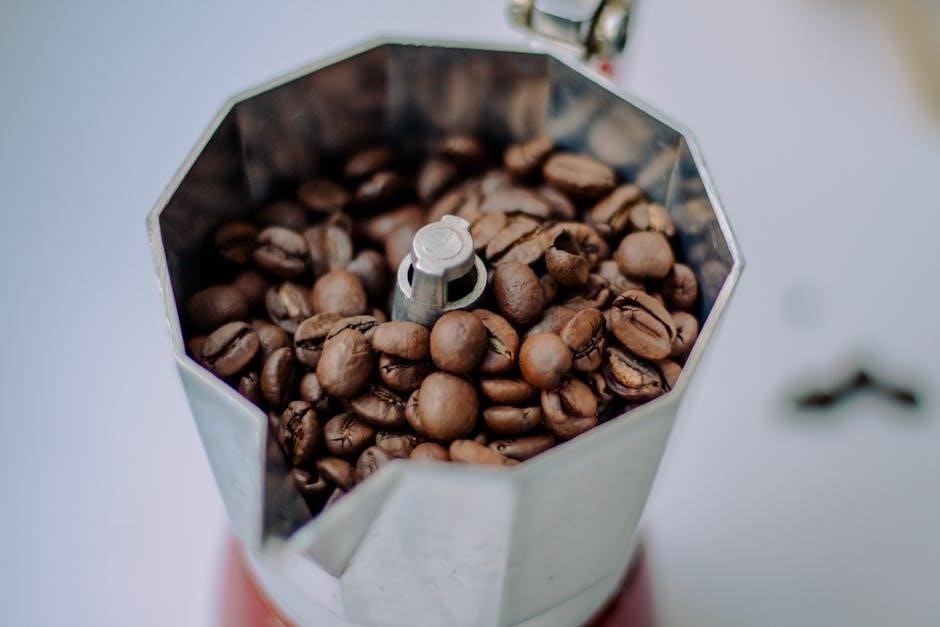
Adding Coffee Grounds
Precise measurement is key! Consult your coffee maker’s manual to determine the recommended amount of coffee grounds for your desired brew strength. Generally, a standard scoop (approximately 2 tablespoons) per 6 ounces of water is a good starting point.
Ensure you’re using freshly ground coffee for the best flavor. The grind size also matters; a medium grind is typically ideal for drip coffee makers. Place a paper filter (or a reusable filter, if your model allows) into the filter basket.
Carefully add the measured coffee grounds to the filter, leveling them gently. Avoid overfilling the filter, as this can cause grounds to overflow during brewing. Refer to your manual for specific filter basket capacity guidelines. A consistent coffee-to-water ratio is crucial for a consistently delicious cup!
Water-to-Coffee Ratio
Achieving the perfect balance is essential! Your coffee maker’s manual will detail the ideal water-to-coffee ratio for optimal flavor extraction. A common guideline is two tablespoons of ground coffee per six ounces of water, but this is adjustable to your preference.

Experimenting is encouraged! For a stronger brew, increase the coffee grounds slightly. For a milder flavor, reduce the amount. Always use fresh, filtered water for the best results. The quality of your water significantly impacts the final taste.
Carefully measure both water and coffee grounds to maintain consistency. Deviating significantly from the recommended ratio can result in weak, bitter, or unbalanced coffee. Refer to your manual’s brewing chart for specific recommendations based on pot size.
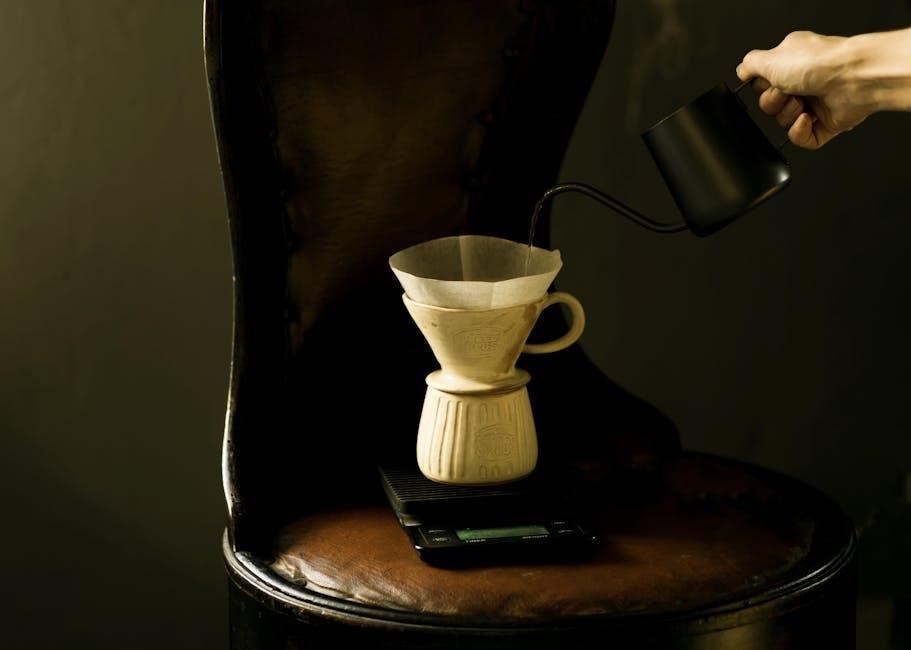
Starting the Brewing Process
Initiating the brew is straightforward! Once the water reservoir is filled and the filter basket contains coffee grounds, ensure the carafe is securely placed on the warming plate. Consult your coffee maker’s manual for specific button sequences or touchscreen controls.
Most models feature a simple “Brew” or “Start” button. Some offer programmable features, allowing you to delay the brewing process. Pay attention to indicator lights; they signal when the machine is heating and actively brewing.
Avoid interrupting the brewing cycle. Prematurely removing the carafe can cause spills and potentially damage the machine. Allow the full brewing process to complete before enjoying your fresh coffee. Refer to the manual for any specific warnings or precautions.
Regular Cleaning & Maintenance
Consistent upkeep is key! Following the manufacturer’s manual diligently prevents scale buildup, ensures optimal flavor, and extends your coffee maker’s lifespan considerably.
Daily Cleaning Routine
Post-brew care is essential! After each use, promptly discard used coffee grounds and the paper filter. Rinse the filter basket and carafe with warm, soapy water – avoid abrasive cleaners that could scratch surfaces. A quick wipe-down of the coffee maker’s exterior keeps it looking its best.
The manufacturer’s manual will detail specific recommendations for your model, but a consistent daily routine prevents residue buildup. Pay close attention to the spray head, ensuring it’s free from blockages. Regularly inspect the water reservoir for any signs of mineral deposits. This simple, daily attention dramatically improves coffee quality and extends the life of your machine, preventing costly repairs down the line. Remember, a clean coffee maker brews better coffee!
Descaling Your Coffee Maker
Mineral buildup impacts performance! Over time, hard water leaves mineral deposits inside your coffee maker, hindering heating efficiency and affecting coffee flavor. Descaling removes these deposits. Consult your manufacturer’s manual for the recommended descaling solution and procedure – vinegar solutions are common, but specific ratios vary.
Typically, you’ll run a descaling cycle with the solution, followed by several cycles with fresh water to rinse thoroughly. The frequency of descaling depends on your water hardness; monthly is a good starting point. Ignoring descaling leads to slower brewing, weaker coffee, and potential damage to the machine. A properly descaled coffee maker ensures optimal brewing temperature and consistently delicious results, preserving its lifespan and functionality.
Cleaning the Carafe & Filter Basket
Regular cleaning is essential! After each use, promptly wash the carafe and filter basket with warm, soapy water. Residue buildup affects coffee taste and can harbor bacteria. For stubborn stains in the carafe, a paste of baking soda and water can be effective – gently scrub and rinse thoroughly.
The filter basket, especially if reusable, requires meticulous cleaning to prevent clogging and ensure proper water flow. Dishwasher-safe components should be placed on the top rack. Always check your coffee maker’s manual for specific cleaning recommendations regarding these parts. Ignoring this step leads to bitter flavors and potential machine malfunction. Consistent cleaning maintains hygiene and extends the life of your coffee maker, guaranteeing a fresh brew every time.
Troubleshooting Common Issues
Don’t panic! Consult your coffee maker’s manual for solutions to typical problems like power failures, weak brew, or leaks – it’s your first resource.
Coffee Maker Not Turning On
Initial Checks: First, ensure the coffee maker is securely plugged into a functioning electrical outlet. A simple test is to plug another device into the same outlet to verify power.
Power Switch & Safety Features: Confirm the power switch is fully engaged. Some models have safety features that prevent operation if components aren’t correctly assembled – check the carafe and filter basket placement.
Circuit Breaker/Fuse: If the outlet is working, investigate your home’s circuit breaker or fuse box. A tripped breaker or blown fuse could be the culprit. Reset the breaker or replace the fuse as needed.
Refer to Manual: Your coffee maker’s manual will detail specific troubleshooting steps for a “no power” situation, including potential internal reset procedures or warnings about specific error codes. Always prioritize the manufacturer’s guidance.
Weak or Bitter Coffee
Coffee-to-Water Ratio: The most common cause is an incorrect ratio. Consult your coffee maker’s manual for the recommended amount of coffee grounds per cup of water. Experiment slightly to find your preferred strength.
Coffee Grind Size: Using the wrong grind size impacts flavor. Too coarse a grind results in weak coffee, while too fine a grind can lead to bitterness. The manual will suggest the ideal grind for your model.
Water Quality: Hard water or impurities can affect taste. Use filtered water for optimal brewing. Regularly descaling your coffee maker (as outlined in the manual) also removes mineral buildup.
Coffee Freshness: Stale coffee beans lose flavor. Store beans in an airtight container in a cool, dark place. Always check the “roasted on” date and use fresh grounds for the best results. Refer to the manual for cleaning instructions.
Coffee Maker Leaking
Water Reservoir Seal: Inspect the water reservoir for cracks or a faulty seal. Ensure it’s properly seated and not overfilled, referencing the maximum fill line in your manual. A damaged reservoir needs replacement.
Filter Basket Alignment: Confirm the filter basket is correctly positioned and securely locked into place. Misalignment can cause water to bypass the filter and leak. Consult the manual’s diagrams for proper assembly.
Carafe Placement: The carafe must be correctly positioned on the warming plate to activate the drip-stop mechanism. Ensure it’s fully seated before brewing. Check the manual for specific carafe requirements.
Internal Blockages: Mineral buildup or coffee grounds can cause leaks. Regularly descale your coffee maker as instructed in the manual. A thorough cleaning can resolve internal blockages and prevent future leaks.
Advanced Features & Tips
Explore your coffee maker’s full potential! Consult the manual to unlock programmable timers and experiment with different coffee grind sizes for optimal flavor.
Programmable Timers
Wake up to freshly brewed coffee! Many modern coffee makers boast programmable timer features, allowing you to schedule brewing in advance. Your coffee maker’s manual is the key to unlocking this convenience. Carefully review the instructions to understand how to set the current time, program a brew start time, and potentially even adjust brew strength or quantity through the timer settings.
Typically, you’ll navigate a menu using buttons on the machine. Some models feature a dedicated “Program” or “Timer” button. Remember to confirm your settings – a common mistake is accidentally setting the timer for the wrong day! Utilizing the programmable timer not only saves you time in the morning but also ensures a consistently delicious cup of coffee is ready when you are.
Using Different Coffee Grinds
Experimenting with coffee is fun! Your coffee maker’s manual will detail the recommended grind size for optimal brewing. Generally, drip coffee makers perform best with a medium grind – similar in texture to coarse sand. Using too fine a grind can lead to over-extraction and bitter coffee, potentially clogging the filter. Conversely, a grind that’s too coarse results in under-extraction and weak, watery coffee.
While some machines can handle a range of grinds, consistently using the recommended size will yield the best flavor. If you’re using pre-ground coffee, check the packaging for its grind size. For the freshest flavor, consider grinding whole beans just before brewing. Always consult your manual before trying drastically different grind sizes to avoid damaging your machine.
Long-Term Care & Storage
Protect your investment! Refer to the manual for detailed storage guidance, ensuring your coffee maker remains in excellent condition for years to come.
Proper Storage Techniques
Ensuring Longevity: When storing your coffee maker for extended periods, meticulous preparation is key. Always consult your appliance’s manual for manufacturer-specific recommendations, as materials and designs vary. Begin by thoroughly cleaning and drying all removable parts – the carafe, filter basket, and water reservoir – to prevent mold or mildew growth.
Store the coffee maker in a cool, dry location, away from direct sunlight and extreme temperatures. Original packaging, if available, offers excellent protection. If not, consider using a dust cover or placing it inside a large plastic bag. Avoid stacking heavy items on top, which could cause damage. Periodically check the stored unit for any signs of deterioration, and refer back to the manual for any specific long-term storage advice.
Extending the Lifespan of Your Coffee Maker
Proactive Maintenance is Crucial: To maximize your coffee maker’s lifespan, consistent care is paramount. Your appliance manual is your primary resource; adhere strictly to its recommended cleaning and descaling schedules. Regular descaling, removing mineral buildup, prevents internal damage and ensures efficient heating.

Use filtered water whenever possible, as hard water accelerates scale formation. Avoid abrasive cleaners, opting instead for mild detergents and soft cloths. Inspect the power cord regularly for fraying or damage. Promptly address any leaks or unusual noises, consulting the manual for troubleshooting steps. Following these guidelines, alongside the manufacturer’s instructions, will safeguard your investment and guarantee years of flavorful coffee.